
Orlando Painting Company Blog
Free tips & advice for residential and commercial painting
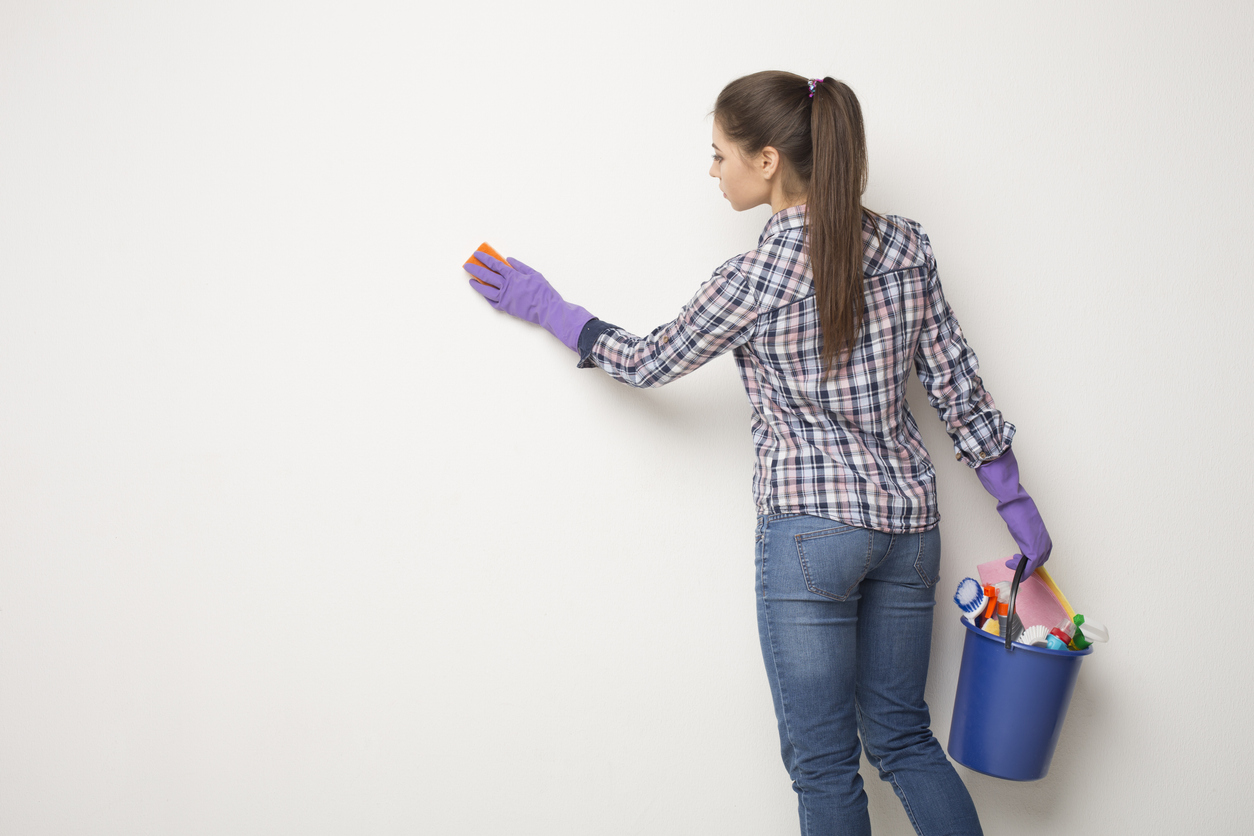
How to Clean Walls Before Painting
Whether you’re planning to give your living room a fresh coat of paint or embarking on a full-scale renovation project, proper wall preparation is key to achieving a smooth, long-lasting finish. Cleaning the walls before painting not only helps remove dirt, grime, and grease but also ensures that the paint adheres properly and looks its best. In this comprehensive guide, we’ll walk you through the essential steps to clean your walls effectively and prepare them for a flawless paint job.
Step one
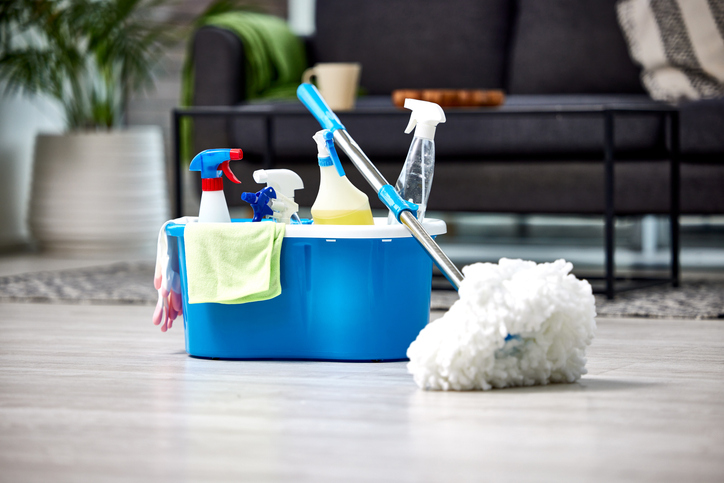
Gather the Necessary Supplies
Before you begin cleaning your walls, gather the following supplies:- Drop cloths or plastic sheets
- Ladder or step stool
- Soft-bristle brush or broom
- Vacuum cleaner with brush attachment
- Clean sponge or cloth
- Mild detergent or wall cleaner
- Bucket
- Warm water
- Painter’s tape
Step two
Protect the Surrounding Areas
Cover the floor with drop cloths or plastic sheets to catch any drips or debris. If there are items on the walls, such as light fixtures or artwork, remove them or cover them with plastic and secure them with painter’s tape to protect them from any cleaning solution or paint splatters.
Move your furniture
Take any furniture that is near a wall and move it in to the center of the room or into another room of your house. If you’re leaving it in the room being painted, it is best to cover it with plastic just in case.

Step three
Remove Dust and Cobwebs
Begin by removing any loose dust, cobwebs, or surface dirt from the walls. Use a soft-bristle brush or broom to gently sweep the walls. Alternatively, you can use a vacuum cleaner with a brush attachment to remove more stubborn dusty areas or to avoid a mess.
Make sure you carefully check the upper most corners of your room as this is typically where dust and cobweb buildup is the worst.
Step four
Spot Clean Stains and Marks
Inspect the walls for any stains, smudges, or marks. Mix a mild detergent or wall cleaner with warm water in a bucket according to the manufacturer’s instructions. Dip a clean sponge or cloth into the solution and gently scrub the stained areas. Avoid using abrasive materials or harsh chemicals that can damage the paint or the wall surface. Rinse the sponge or cloth frequently and change the water if it becomes dirty.
Slow and steady is the best method here. Don’t push too hard while cleaning or you may damage the existing paint on your wall. This can create an uneven coat for your new paint.
Step five
Address Grease and Stubborn Stains
For grease or stubborn stains that resist regular cleaning, use a more potent cleaning solution. You can try a mixture of warm water and vinegar or use a commercial degreaser. Apply the solution to a sponge or cloth and gently scrub the affected areas. Be sure to rinse thoroughly with clean water to remove any residue.

Step six
Clean Baseboards and Trim
Don’t forget to clean the baseboards and trim as well. Wipe them down with a damp cloth or sponge to remove any accumulated dust or dirt.
You want to see what the trim looks like fully cleaned before applying the new paint. This will create a seamless, completely-new look for your room once everything is done.
Step seven
Rinse the Walls
Once you’ve cleaned the entire wall surface, rinse it thoroughly with clean water. Use a clean sponge or cloth dampened with water to remove any remaining cleaning solution. Give it a few hours to make sure the walls are completely dry before proceeding to the next step.
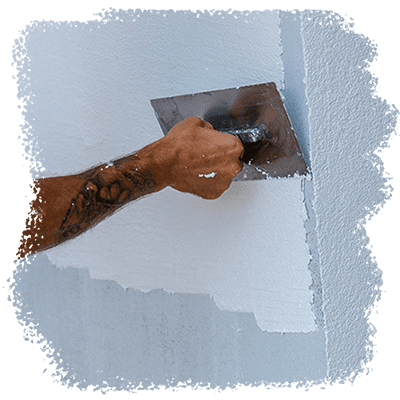
Step eight
Inspect and Repair
After the walls have dried, inspect them for any imperfections, cracks, or holes. Repair these issues using with spackle, following the manufacturer’s instructions. Allow the compound to dry completely and sand it smooth for a seamless finish.Hire a professional painting company
Skip the hassle of cleaning before your painting project and hire a local painting company to take care of it all for you.